

How To Create An Ftp Folder In Windows 7
Installing an FTP (or SFTP) Server on Windows 7 is a great way to transfer files to and from web servers or remote locations when you don't have a server that is readily available.
We've put together this great walk-through on how to get the Windows 7 file transfer protocol service and IIS Management Service installed in order to get file transfer functioning on your Microsoft Windows 7 desktop.
Let's get started!
- Go to the Start menu, then click Control Panel on the right side.
- Click Programs & Features when Control Panel items window opens up
- When the Programs & Features window open, click Turn Windows features on or off on the Left sidebar menu, it has a small blue/yellow checked shield icon next to it.
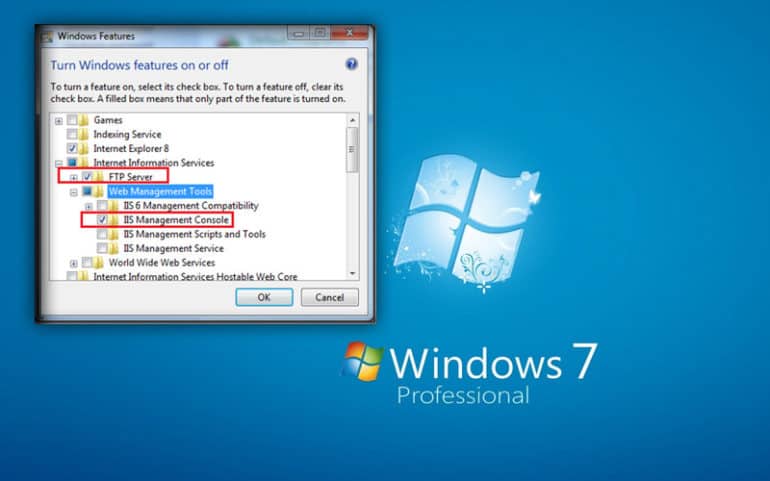
- The Windows Features dialog box will now take a moment to populate. Scroll down to the Internet Information Services section and click the "+" sign to expand it.
- Then Expand the FTP Server section by clicking the "+" sign to expand it.
- Now click the FTP Service check box, and then click OK.
- Wait for the FTP Service to install and finish
At this point, the File Transfer Protocol Service should be installed and you'll need to open up the IIS Management window in order to add a new Site, as one is not created during the installation.
- Open IIS Management Console and Expand your Server.
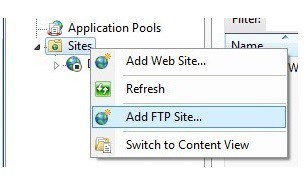
- Expand the folder that says "Sites"
- At this point, you'll want to Right-Click on the Sites folder and click the Add FTP Site… option.
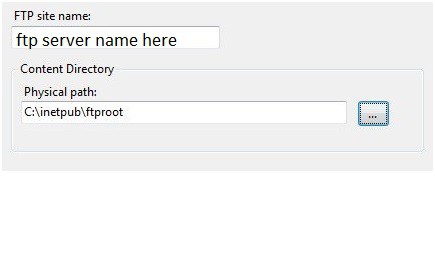
- The Wizard window will now open and you will enter in a name for your Site where it says FTP Site Name
- After you've entered a Name, make sure to enter a path to where you want to host your files, or you can leave the default path.
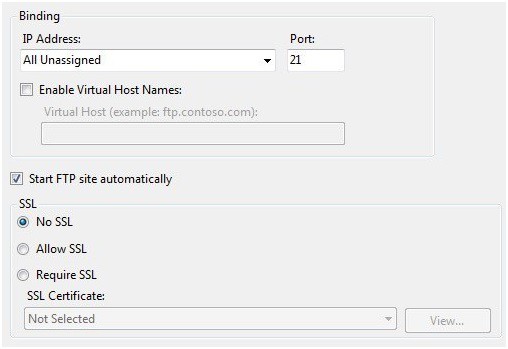
- Now we'll head over to the bindings section and if you dont plan on hosting any other websites on this server, leave the IP Address: field to "All Unassigned" and the Port at 21.
- Also, ensure that the "Start FTP Site automatically" check box is checked as well to ensure the newly created site starts when the computer boots up.
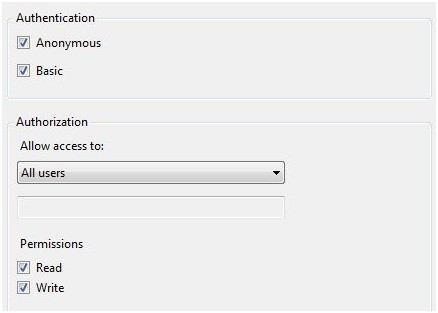
- Last but not Least, you'll need to setup the Authentication and Authorization portion of the File Transfer Server in order to specify the correct permissions for users accessing the site. You will need to decide which Authentication and Authorization option you will want on your site depending on the level of Permissions you need.
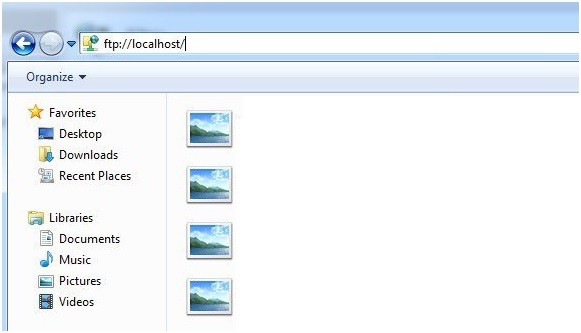
You should now be able to access your Server by going to your Internet Browser or Windows Explorer Window and enter in the the IP address of the machine preceded by "ftp://".
Example: ftp://your.server.ip.address
It should then bring up a window that looks like this while any files you have added to the ftp site:
Please leave any questions or comments below!

James Cox is the Editor at ITT Systems and has a Long History in the IT and Network Engineering Field. He Boasts a long list of Credentials ranging from CompTIA Certifications up to Cisco and VMWare points on his Resume.
How To Create An Ftp Folder In Windows 7
Source: https://www.ittsystems.com/windows-7-ftp-server-installation/
Posted by: ramosbuttle.blogspot.com
0 Response to "How To Create An Ftp Folder In Windows 7"
Post a Comment