

How To Draw With Pencils For Beginners
When learning to describe with graphite pencil, knowing the fundamentals is key. Below, Lee Hammond shares expert insight into the nuts, excerpted from her book, Lee Hammond's All New Big Book of Drawing .
Working with Graphite Pencil
Graphite has always been my become-to medium for art. It was my starting time love when I started learning basic drawing techniques. Because I am self-taught, information technology was the easiest medium to master. It's besides the most portable and clean medium, so it was convenient when I was raising my children.
In the 80s, I developed the "Lee Hammond Blended Pencil Technique" and started educational activity it to small groups. Like me, the students plant graphite to be the easiest medium to control. Past the 90s I was hooked — and writing books nigh information technology. This technique has changed the fashion people depict.
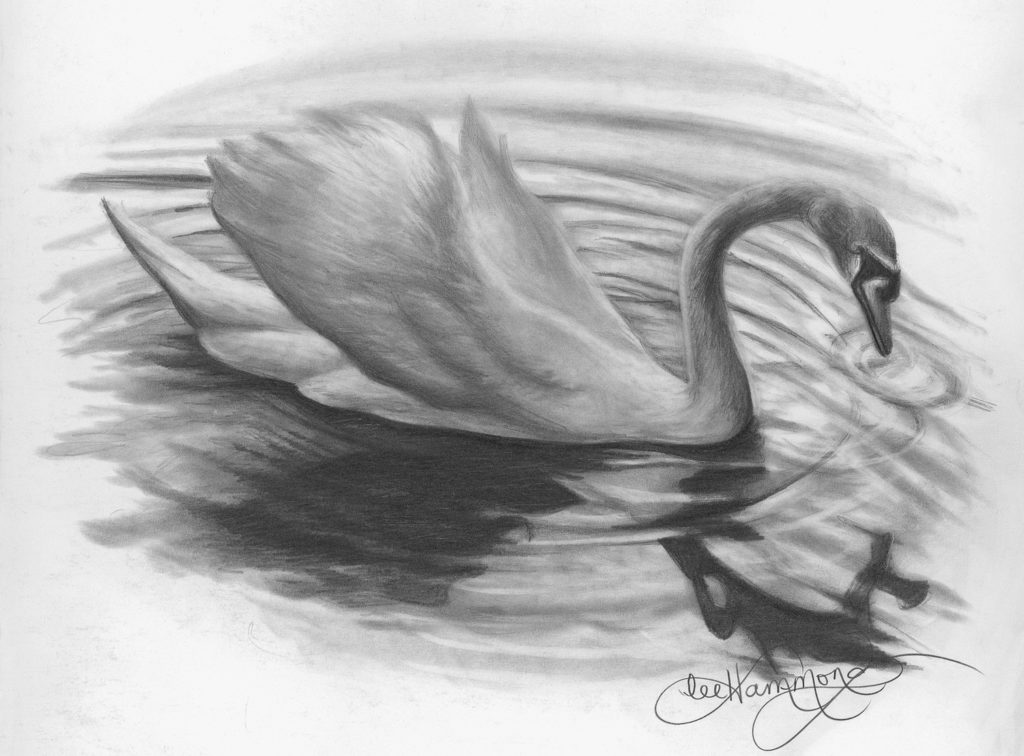
My book will brand you adept in graphite drawing. Even if you accept previous experience, the projects will give you boosted skill and understanding. I promise the illustrations will inspire you and prove that graphite pencil is non but a tool to be used for preliminary sketching, but is a fine-art medium in its own right.
Graphite Tools
You cannot create quality artwork with inadequate fine art materials. My blended pencil technique requires the right tools to create the expect. Don't scrimp in this department or your art volition suffer.
I've seen many of my students arraign themselves for being untalented when it was their supplies keeping them from doing a good job. The post-obit tools will help you be a ameliorate creative person.
Pencils
Mechanical pencils are great for fine lines and details, and you never have to sharpen them. While a mechanical pencil is my pencil of choice, the lead is the most important part. 2B is a soft pb that offers a shine alloy. You tin can also utilize 4B or 6B with similar results.

Smooth Bristol Lath or Paper (Two-Ply or Heavier)
I like a paper that is very smooth (plate finish) and can withstand a good bargain of rubbing, scratching and erasing.
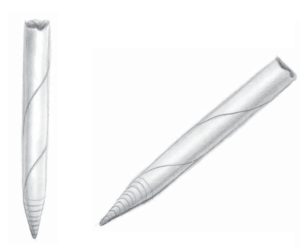
Blending Tortillions and Stumps
Both are used for blending the graphite pencil. Tortillions are spiralwound pieces of paper that are practiced for modest areas. Stumps are paper pressed and formed into the shape of a pencil. They are pointed on both ends and work well for blending big areas.
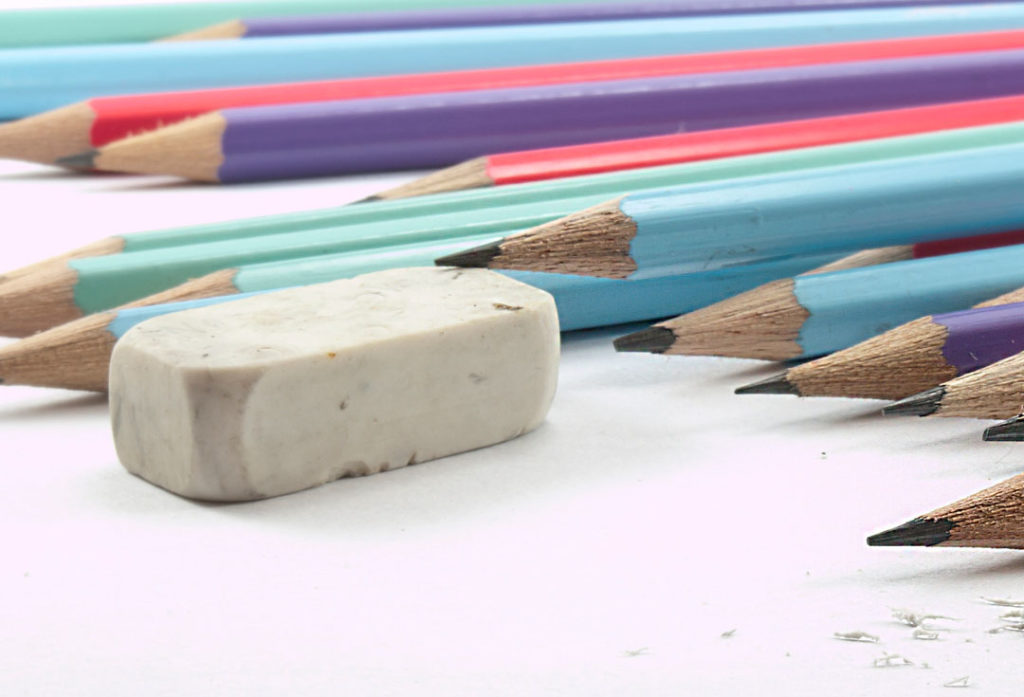
Kneaded Erasers
These erasers resemble modeling clay and are essential to a blended pencil drawing. They gently lift highlights without ruining the surface of the paper.
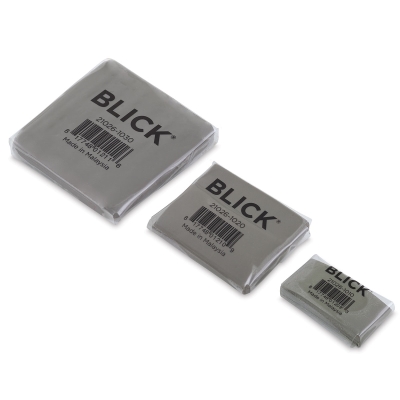
Stick Erasers
These erasers resemble mechanical pencils with a click mechanism for advancing them. The erasers in these are made of vinyl, and they erase pencil marks cleanly. The small point of the vinyl eraser can remove precise lines and details within your drawing. They come in a variety of sizes from large tips to micro.
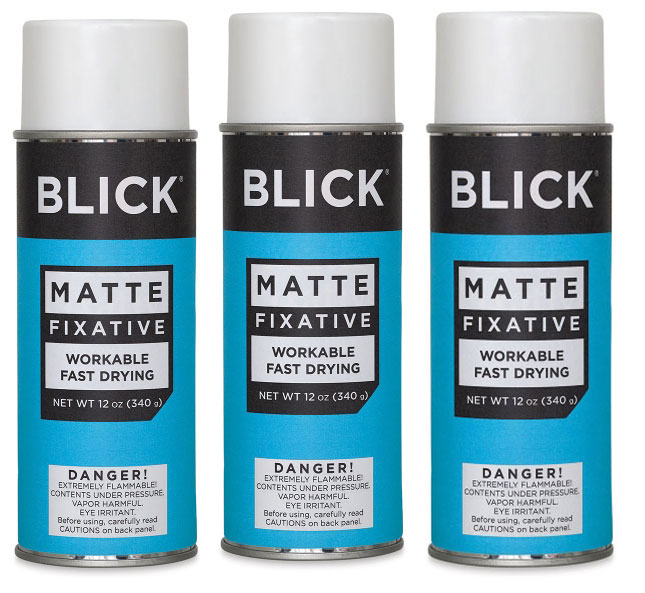
Workable Spray Fixative
This is a spray used to seal your work and to prevent it from smudging when y'all are finished. Workable ways y'all tin spray downwardly an area and continue to draw on pinnacle of it. However, I don't recommend it for the techniques I share in my book. Information technology volition change the smoothness of the paper and interrupt your blending.
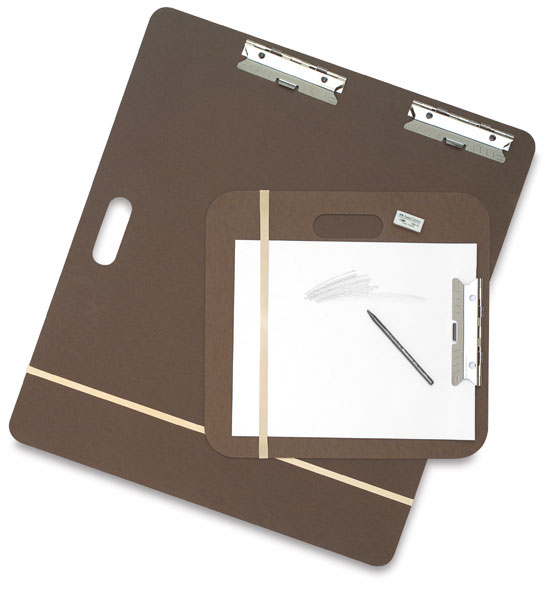
Drawing Board
It's of import to tilt your piece of work toward you as y'all describe. This prevents the baloney that occurs when working apartment. Secure your paper and reference photo with a clip.
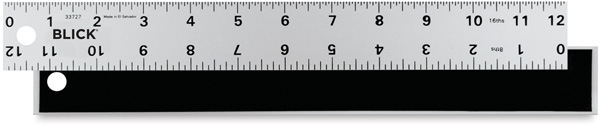
Ruler
Rulers help y'all measure and graph your drawings.

Acetate Report Covers
Utilise these covers for making graphed overlays to place on tiptop of your photo references. They'll help you accurately filigree your drawings.

Reference Photos
These are valuable sources of do material. Collect mag pictures and categorize them into files for quick reference.
A discussion of alarm: Don't copy the exact image; just use the images for practice. Many photographers agree the copyright for their piece of work, and any duplication without their express permission is illegal. You lot tin can avoid this upshot altogether when you use your own reference photos.
Blending Graphite
Back in the 80s when I beginning started teaching my Lee Hammond Blended Pencil Technique, graphite drawing had a looser, more impressionistic approach. Shine blending was rarely seen. Over the years, this smooth and realistic approach has been embraced by thousands of people and go ane of the most popular styles of cartoon.
To create this look, blend your graphite until information technology appears smooth. It is non as easy as it looks, but with practice you tin master this technique.
The post-obit examples show what your blending should and should not look like. The smoothness of your blend volition depend on how smoothly you lot apply the pencil.
It's important to place your pencil lines down slowly and evenly at the very beginning. If your pencil lines are put downward in a fast, scribble-like application, no corporeality of blending will make them wait smooth.
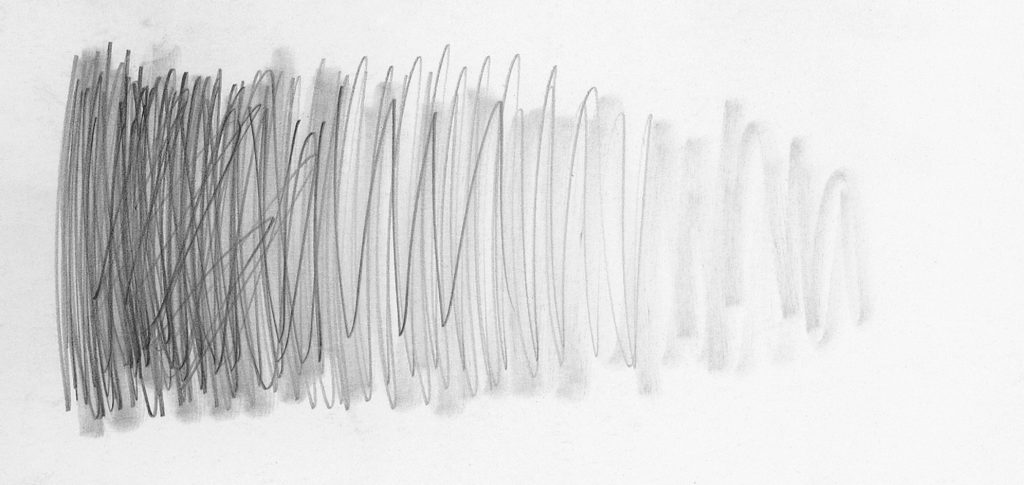
Don't Scribble
No amount of blending will ever be able to brand this scribbled awarding look smooth.
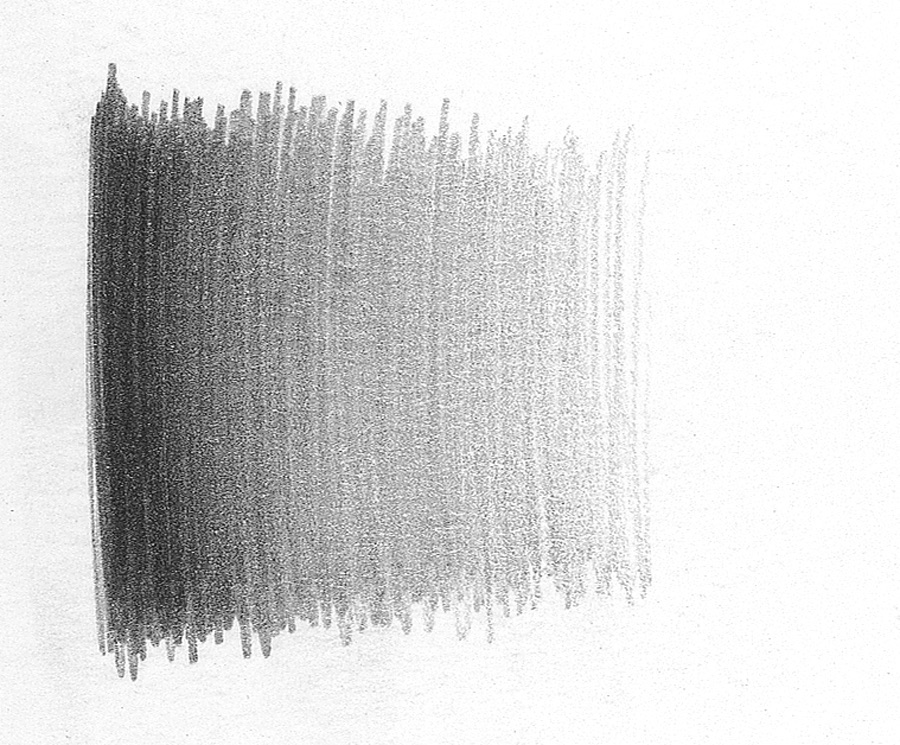
Smooth Lines from Dark to Light
This is what your pencil lines should look like before you brainstorm blending. The individual lines are barely visible. Work from night to light, going up and down and back and along at the same time to aid the liens fill in as y'all go.
Utilize a Light Touch for Blending
Apply the tortillion in the same up-and-down, back-and-forth awarding every bit you lot applied your graphite pencil. Practice not press down hard as you blend — this will just rough up the newspaper and make it look choppy. The lighter your touch, the smoother your alloy will be.
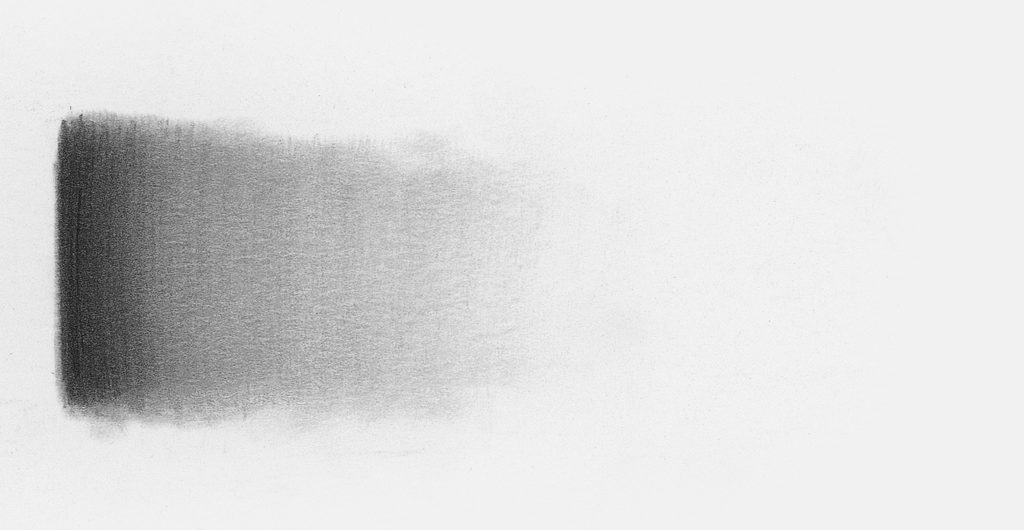
Pro tip : When blending, e'er hold your stump or tortillion at a slight bending to become the all-time results for a polish finish.
The 5 Elements of Shading
In order to draw realistically, you must commencement sympathise how lighting affects class. There are five elements of shading essential to depicting an object's form realistically.
Without a solid foundation of these elements, everything y'all draw volition look flat. Your field of study will look three-dimensional but when the effects of light and shadow are properly placed. Each of the 5 elements of shading can exist seen on the sphere beneath.

one.Cast Shadow
This is the shadow the object you are drawing casts onto a surrounding surface. Information technology is often the darkest function of your drawing because this is where the light is completely blocked. It should exist fatigued in equally close to black as possible. As it comes out from the object, it will kickoff to appear lighter. It is No. 1 on the value scale.
2. Shadow Edge
This is too referred to as a turning shadow. It is non the edge of the object, just rather the shadow on the object that shows it's a rounded surface. This is a night grey tone that corresponds with No. two on the value scale. Y'all volition find this shadow where an object has protruded and the surface recedes to the other side.
three. Halftone
This is the true color of your object, unaffected by the light. It has no shadow and is No. 3 on the value scale.
four. Reflected Light
Look at the sphere above, and you'll run into a subtle rim of light along the edge of the shadow side. This is the light bouncing upwardly from the surface and coming from backside. It is the element about often left out of a drawing. Still without it separating the shadow edge and bandage shadow, your object volition expect flat.
Be sure to study your reference for the reflected low-cal — it is always seen on the edges, rims or lip of an object. While information technology is lighter than the shadows, it is yet seen on the darker side of the object. It should never be left too white, or it will not expect realistic. Information technology is a light gray and corresponds with No. four on the value calibration.
5. Full Light
This is the part of your bailiwick that receives the most lite. It's No. 5 on the value calibration, where the tones fade gently into the white of the paper.
Let Lee show you how to turn a photo reference into a gorgeous graphite pencil cartoon in this gratuitous video demonstration!
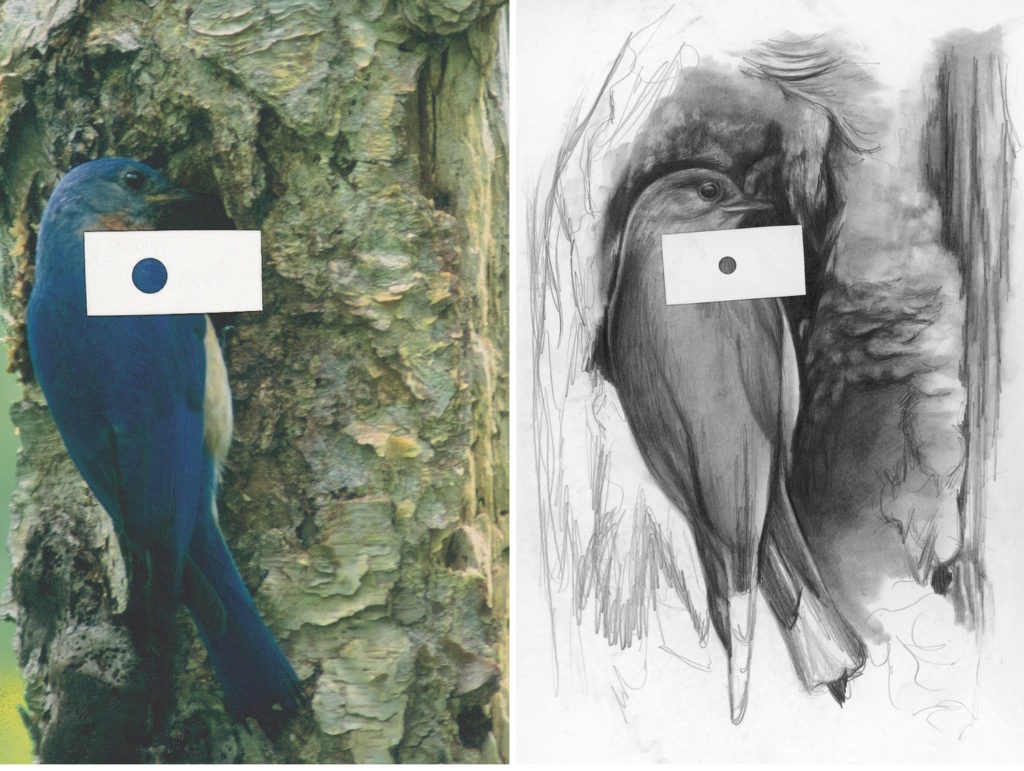
Matching Values
It is of import to lucifer the values of your subject matter. I ever tell my students to analyze and replicate the tones. However, at that place are times it may be difficult to judge the values in your reference photo and determine whether y'all are close.
To compare your tones, use this little flim-flam: Accept two pocket-size pieces of white paper and punch a hole in each. Place 1 over an area of your reference photo.
Place the other over the same area of your drawing. Look at both of the holes and run into if the tones friction match. By isolating the tones inside these holes, you can so compare them to white and see how nighttime they really are.
Here are some helpful tips for blending, shading and achieving even tones:
- Contrast. Don't exist agape to get dark in the shadows. Contrast is very important for creating the look of realism.
- Application of Tone. Ever apply your pencil lines co-ordinate to the contours of your bailiwick. Alloy using long vertical strokes, lightening your impact every bit you become into the calorie-free (like a value scale). You cannot control the fade into the light with cross-blending.
- Edges. Anytime you have to use a line to depict the shape of something, yous must get rid of the await of outlining. The darkness of a drawn line belongs to one surface or another. Fade the dark out into the surface information technology belongs to and create the expect of an border, not an outline.
- Uneven Tones. Right uneven tones with a kneaded eraser. Grade the eraser into a signal and gently "draw" the irregularity out. Use a very light bear upon. This is chosen "cartoon in reverse." Yous can also crisp upward edges this way.
Backgrounds and Edges
Graphite is a foundation medium. The gray tones information technology produces provide you a means for fully exploring and understanding the importance of value and the five elements of shading we have touched on earlier.
Ane mode y'all can use value to achieve a better sense of depth in your drawings is to add tone to the groundwork. Notice below how the night backgrounds affect the expect of the shapes. If these shapes were set against white backgrounds, their edges would look much different.
When information technology comes to drawing shapes, there are two distinct types of edges: hard and soft. Hard edges are found where 2 surfaces come up together or overlap. They are quite divers as their tones create the wait of an edge by stopping abruptly. Soft edges can be found in areas when an object bends gently. They accept a gradual modify in tone.
Groundwork Makes a Difference
When the sphere is placed in forepart of a toned background, its edges wait dissimilar compared to the previous sphere with the white groundwork. When drawing, e'er ask yourself if yous are blending light over dark or nighttime over lite.

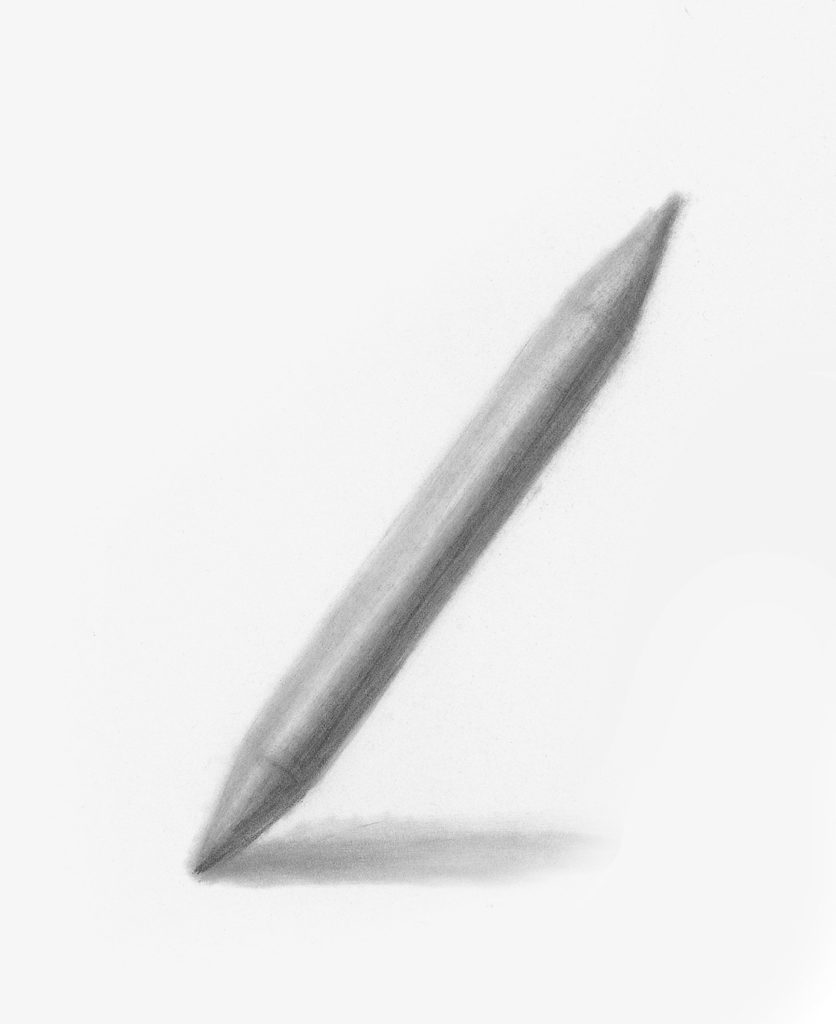
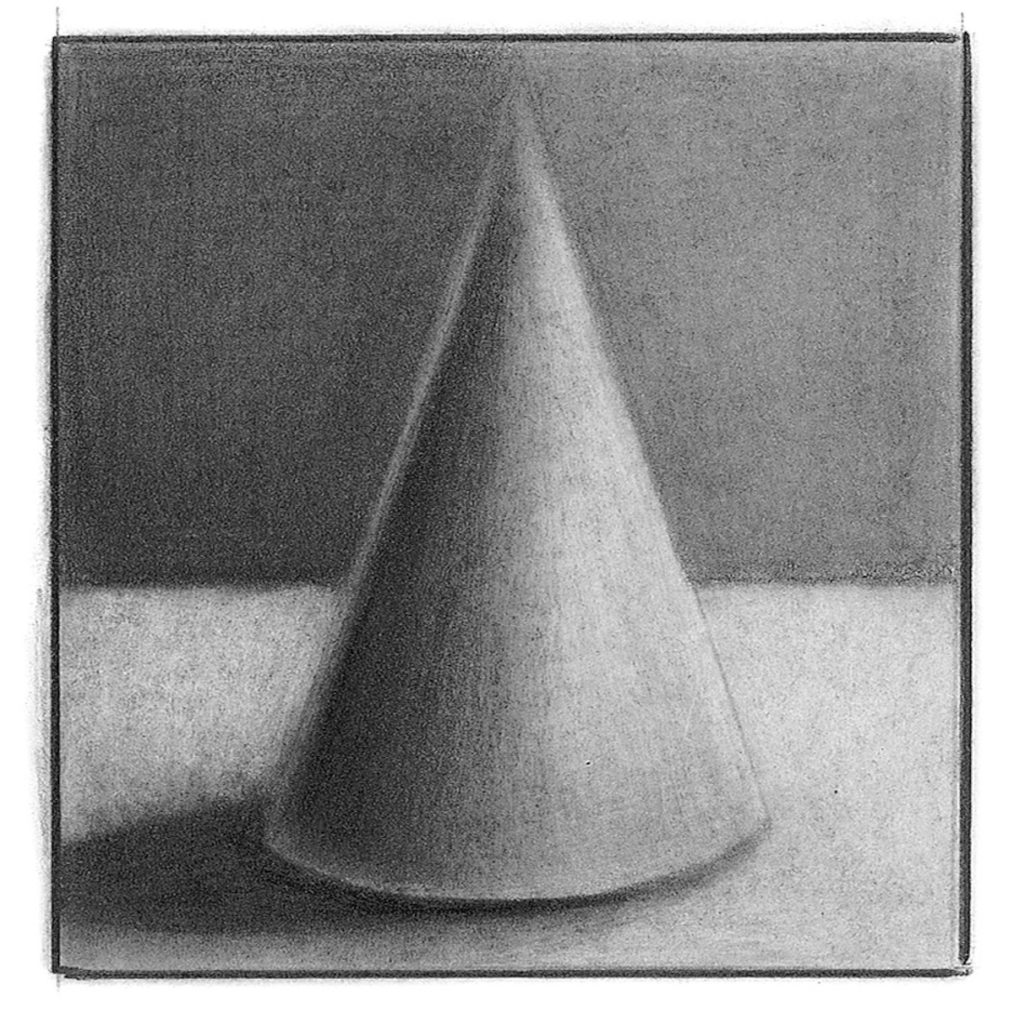
Hard and Soft Edges
This cone has two distinct types of edges: hard and soft. The soft border can exist institute in the curve of the shadow on the rounded surface of the cone. Hard edges are created were the cone overlaps the groundwork and touches the table.
Keep Learning
Now that you lot have the nuts of graphite pencil covered, start practicing! Lee Hammond's All New Big Book of Drawing is a culmination of the artist'south twoscore years of teaching, featuring more the 80 pace-past-step projects and tips for both drawing with graphite pencil and colored pencil. Onward, artists!

Source: https://www.artistsnetwork.com/art-techniques/beginner-artist/graphite-pencil-drawing-basics/
Posted by: ramosbuttle.blogspot.com
0 Response to "How To Draw With Pencils For Beginners"
Post a Comment